I found the history behind these knives to be quite interesting and also they look really cool so I thought I’d have a go at making some.
The original knife design used a brass handle with a round tang that goes through the pommel and is peened over. Rather than doing this, I decided to weld M4 threaded rod to the blade and machine a threaded brass pommel. I wanted to use a wooden handle, so the pommel would have to be fairly large in order to get the right balance.
Starting with 1/4″ O1 steel, I cut with an angle grinder and shape with a linisher.

I used the same wooden fixture I sued to make my last set of hunting knives to get the bevels. I was initially worried about how I would get these to taper correctly but as long as you get the bevel angle right on the fixture, you can do everything else by eye and feel.
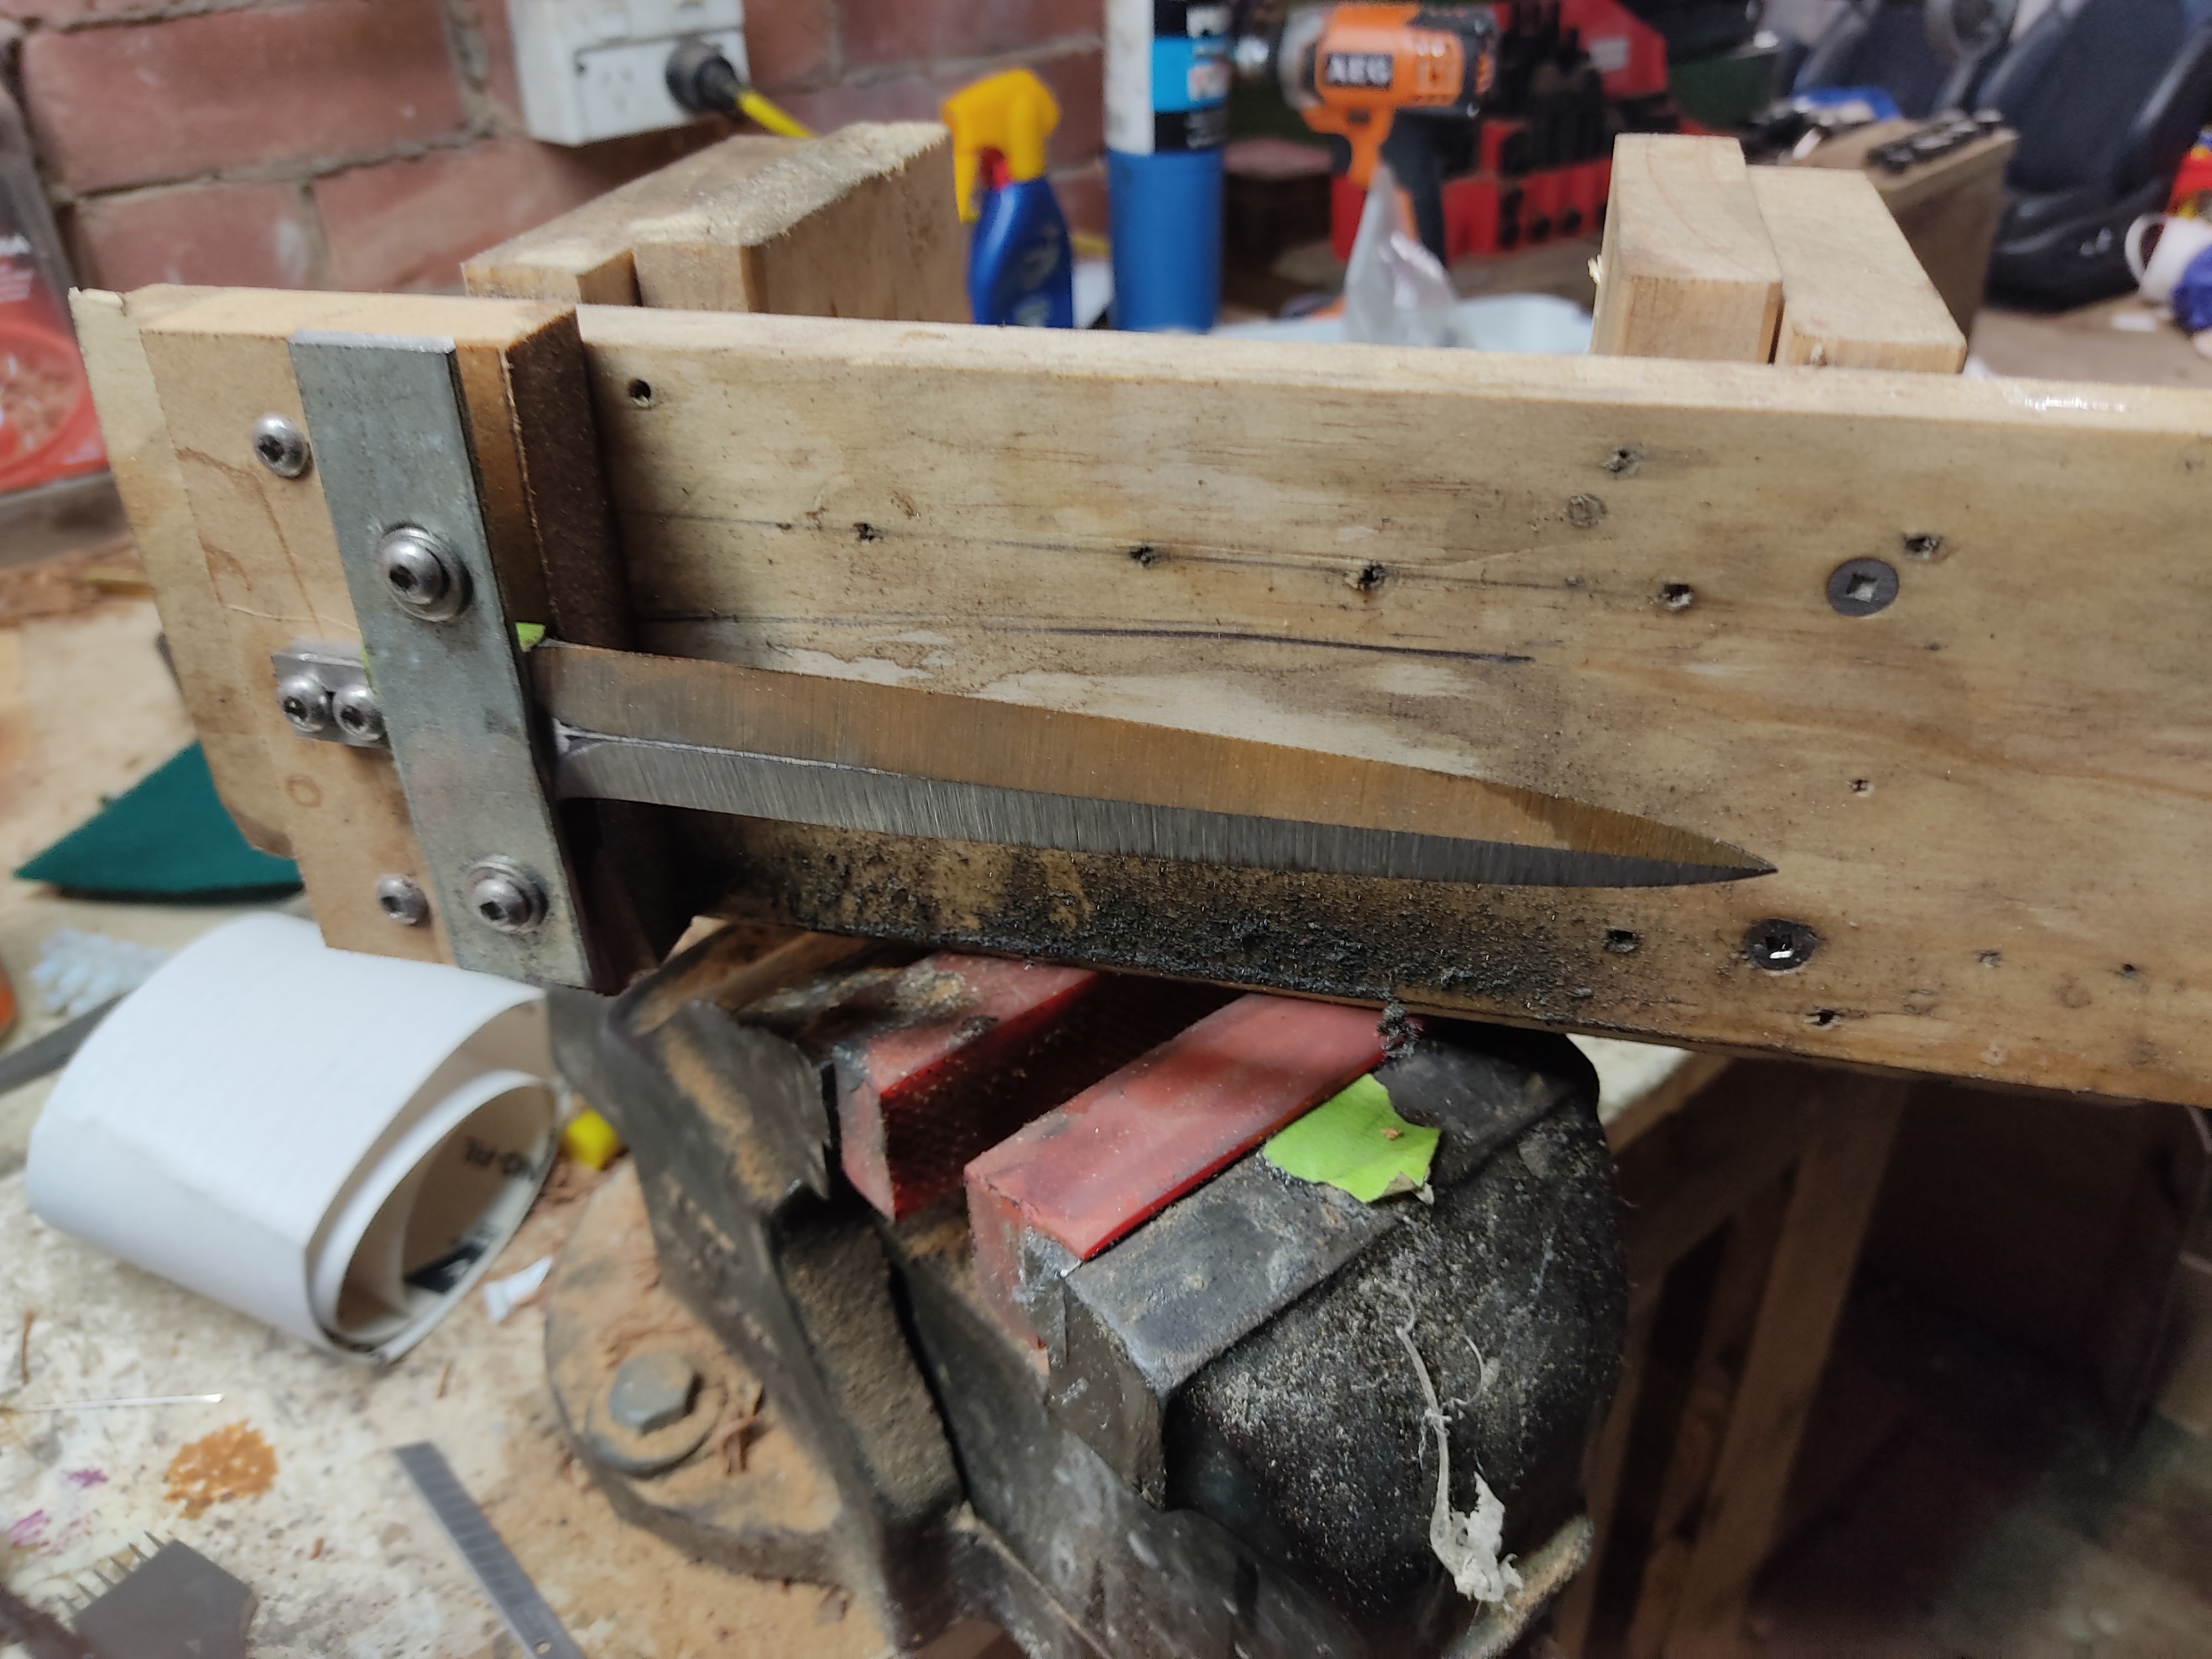
Below is a pic of my linishing setup as it stands. It’s not perfect for the job- Getting the plunges right requires tracking the belt over to which ever side I’m working on but I can’t justify buying an expensive setup right now.

After grinding, I milled slots to weld in the threaded rod.
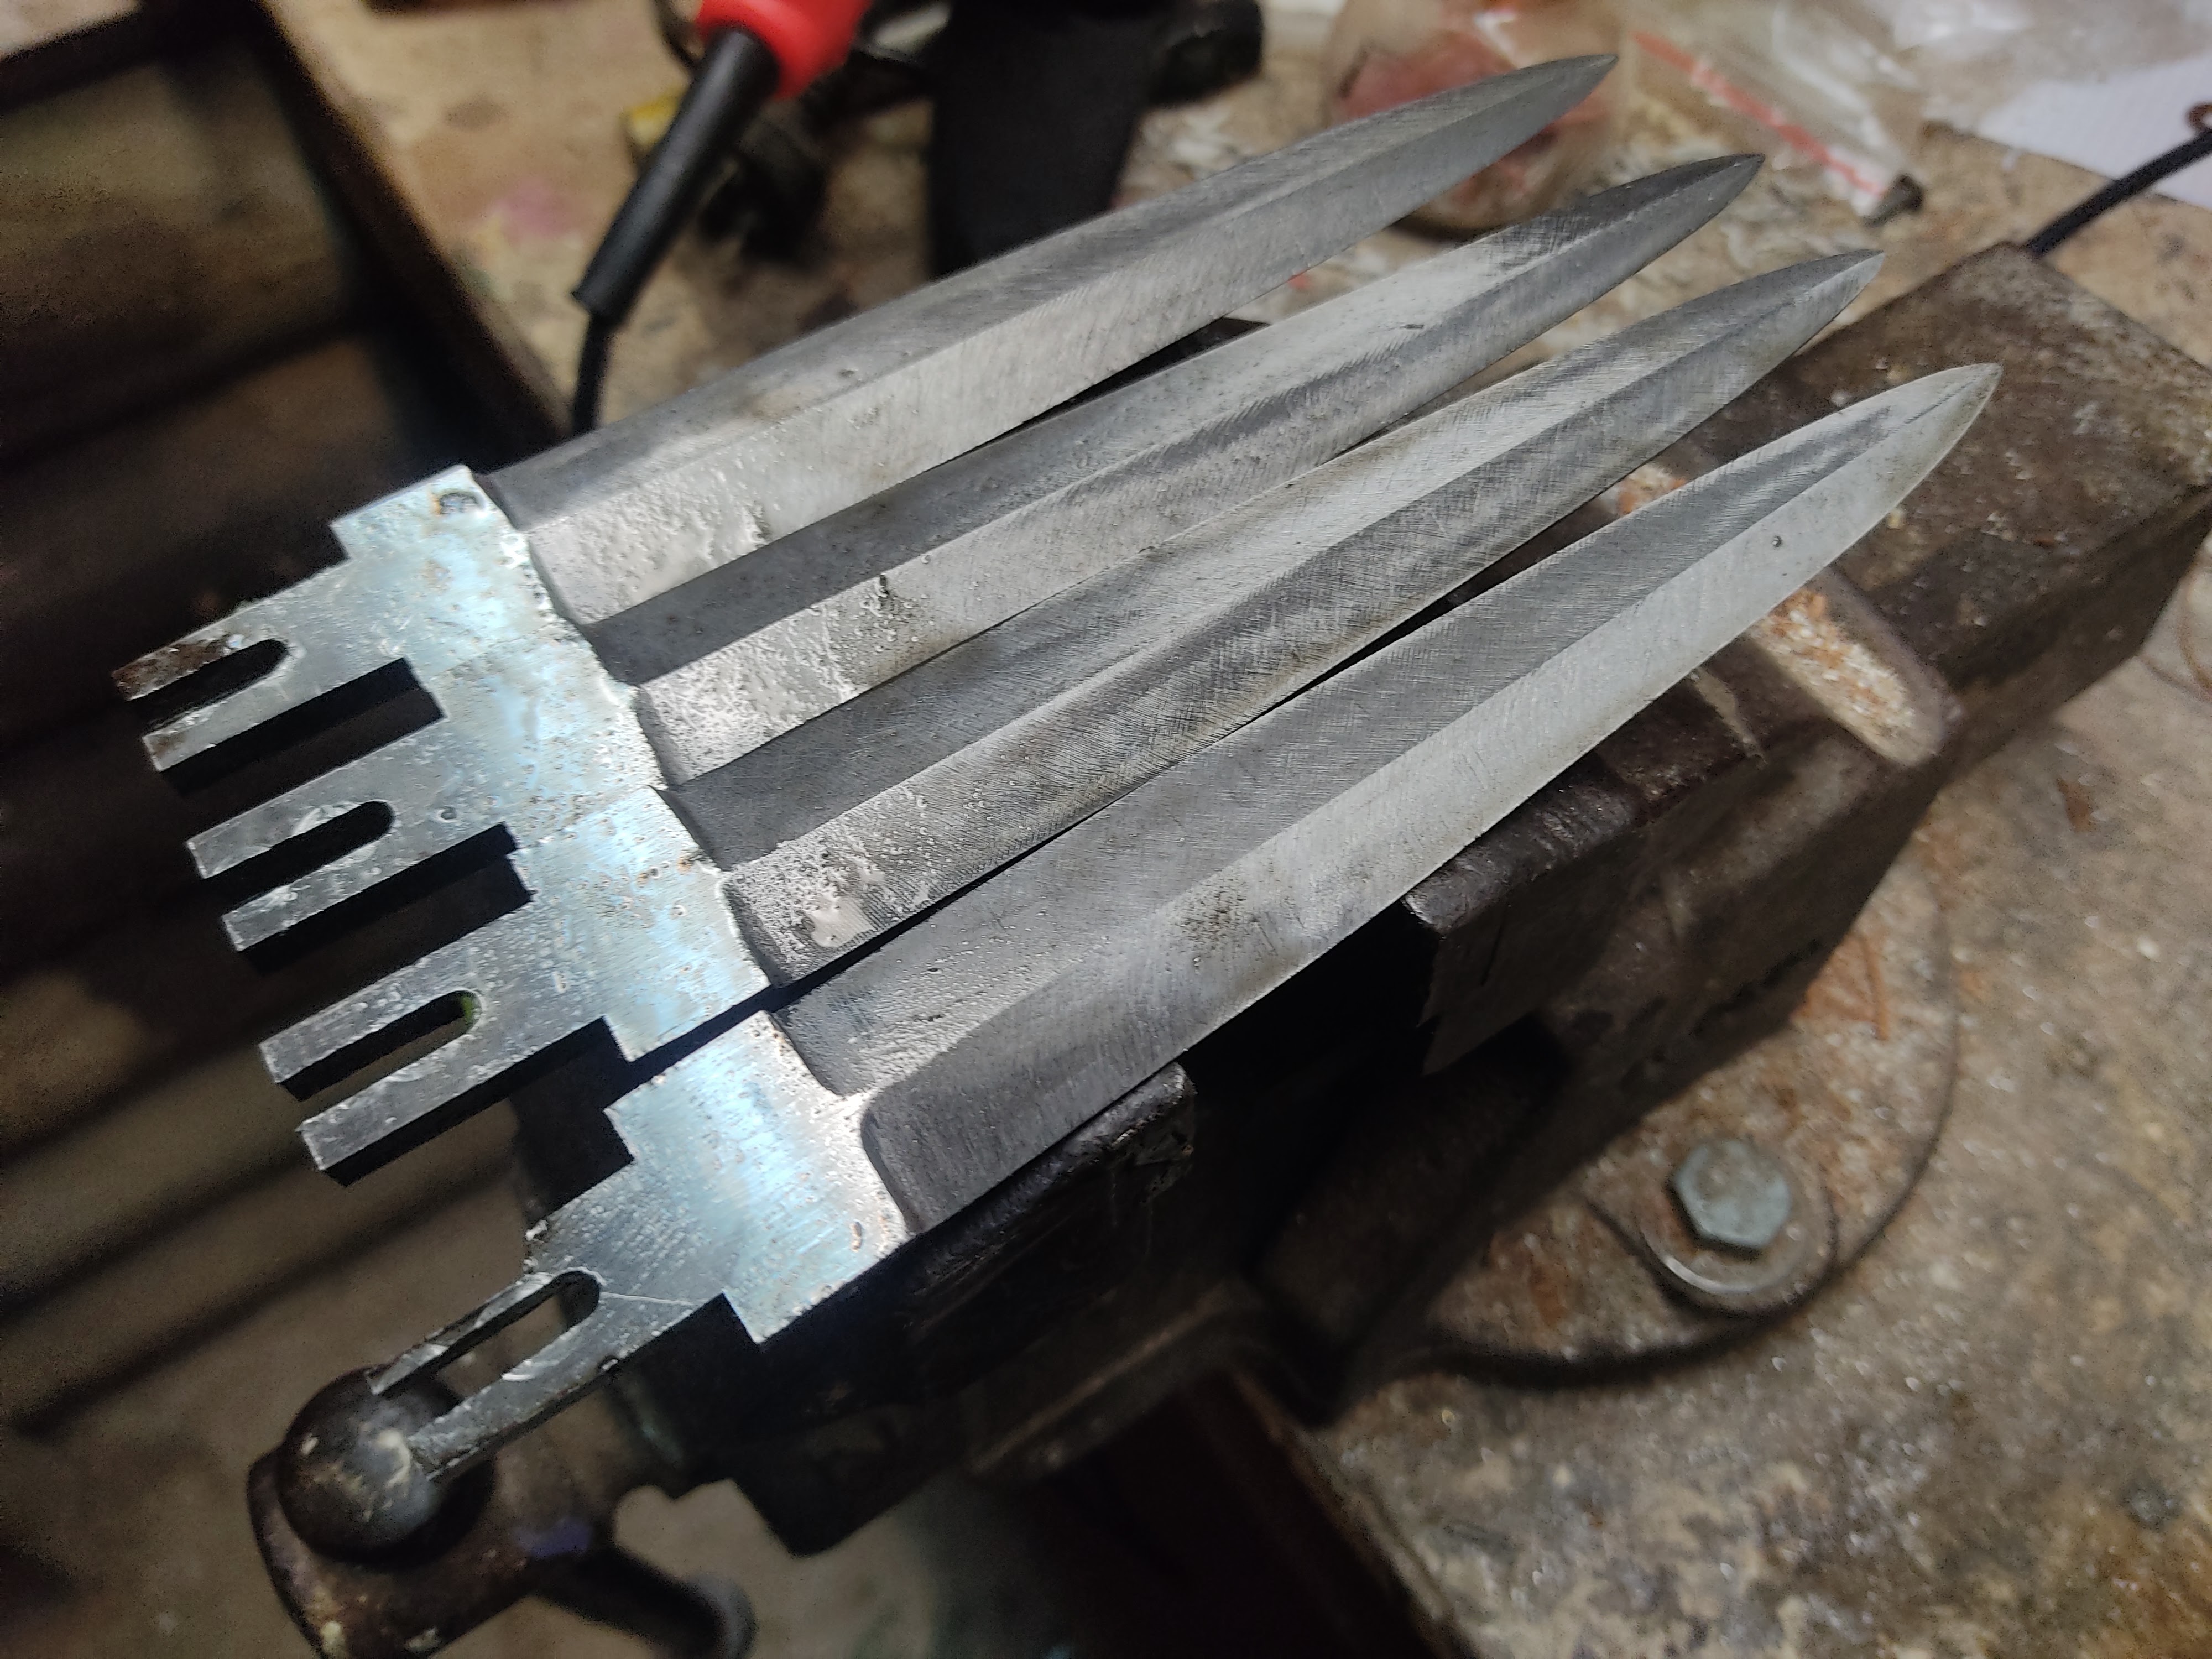
Photos of the welded in rod.

Next, I ground the tang down.
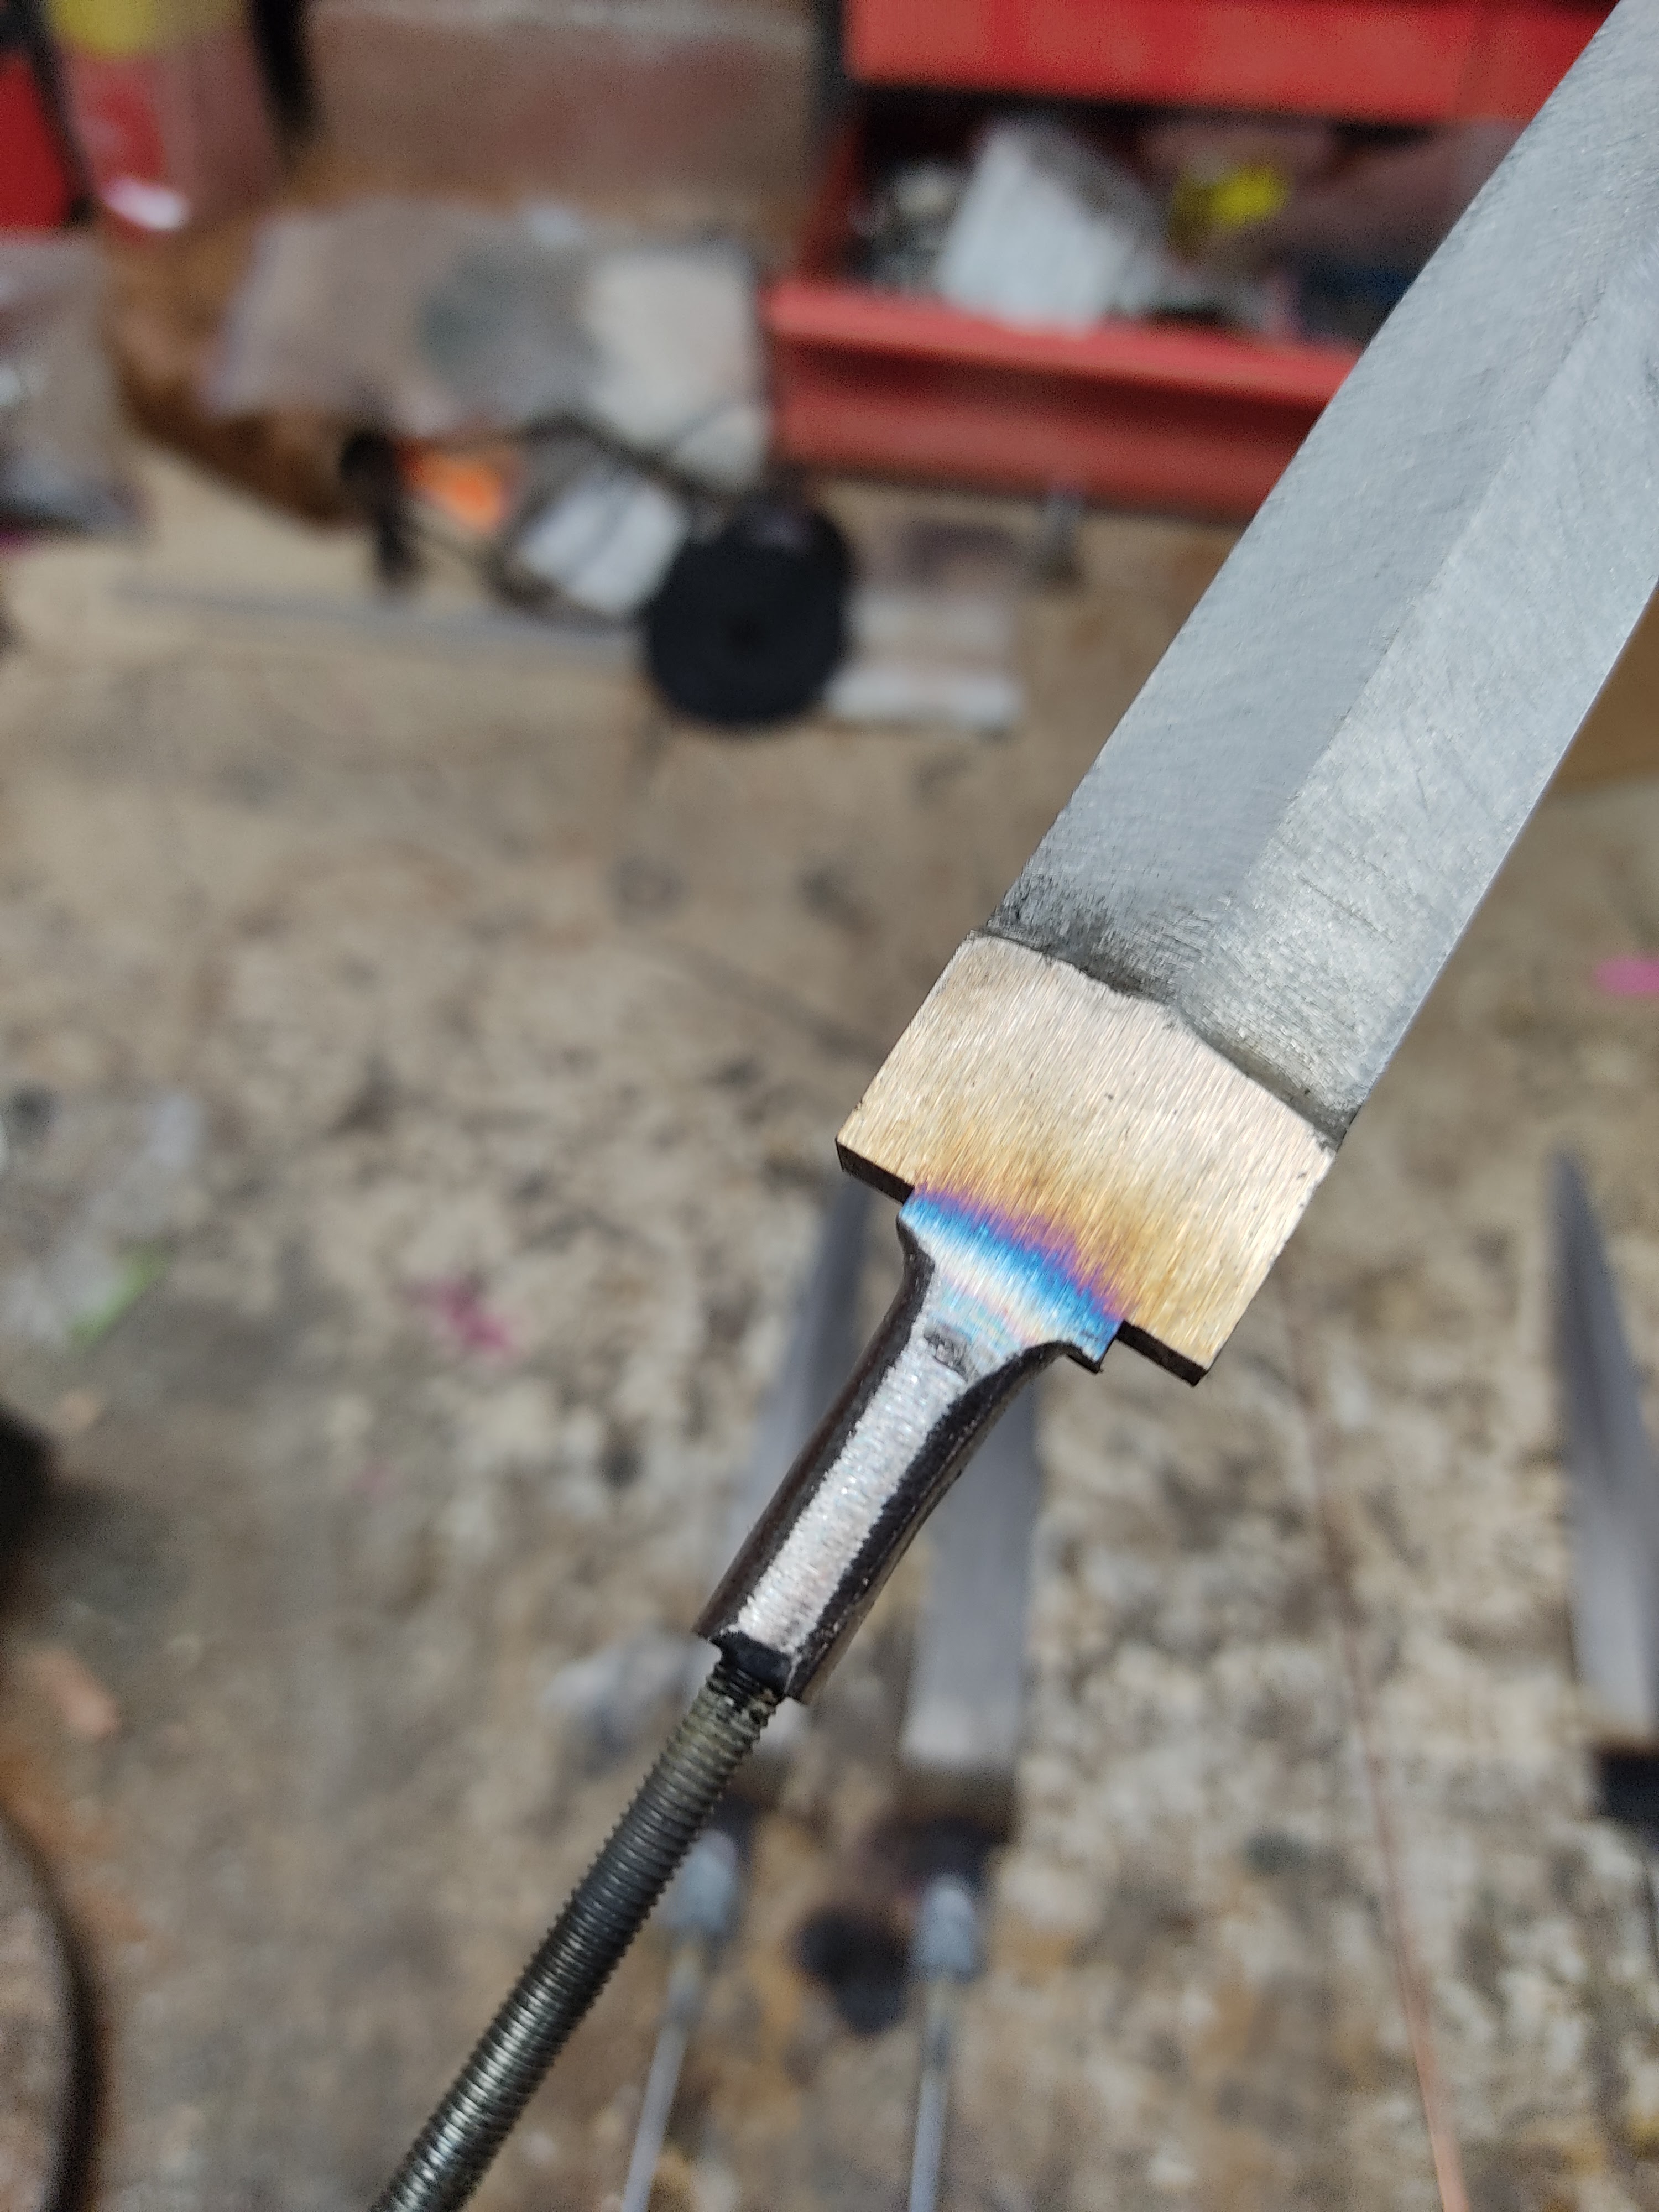
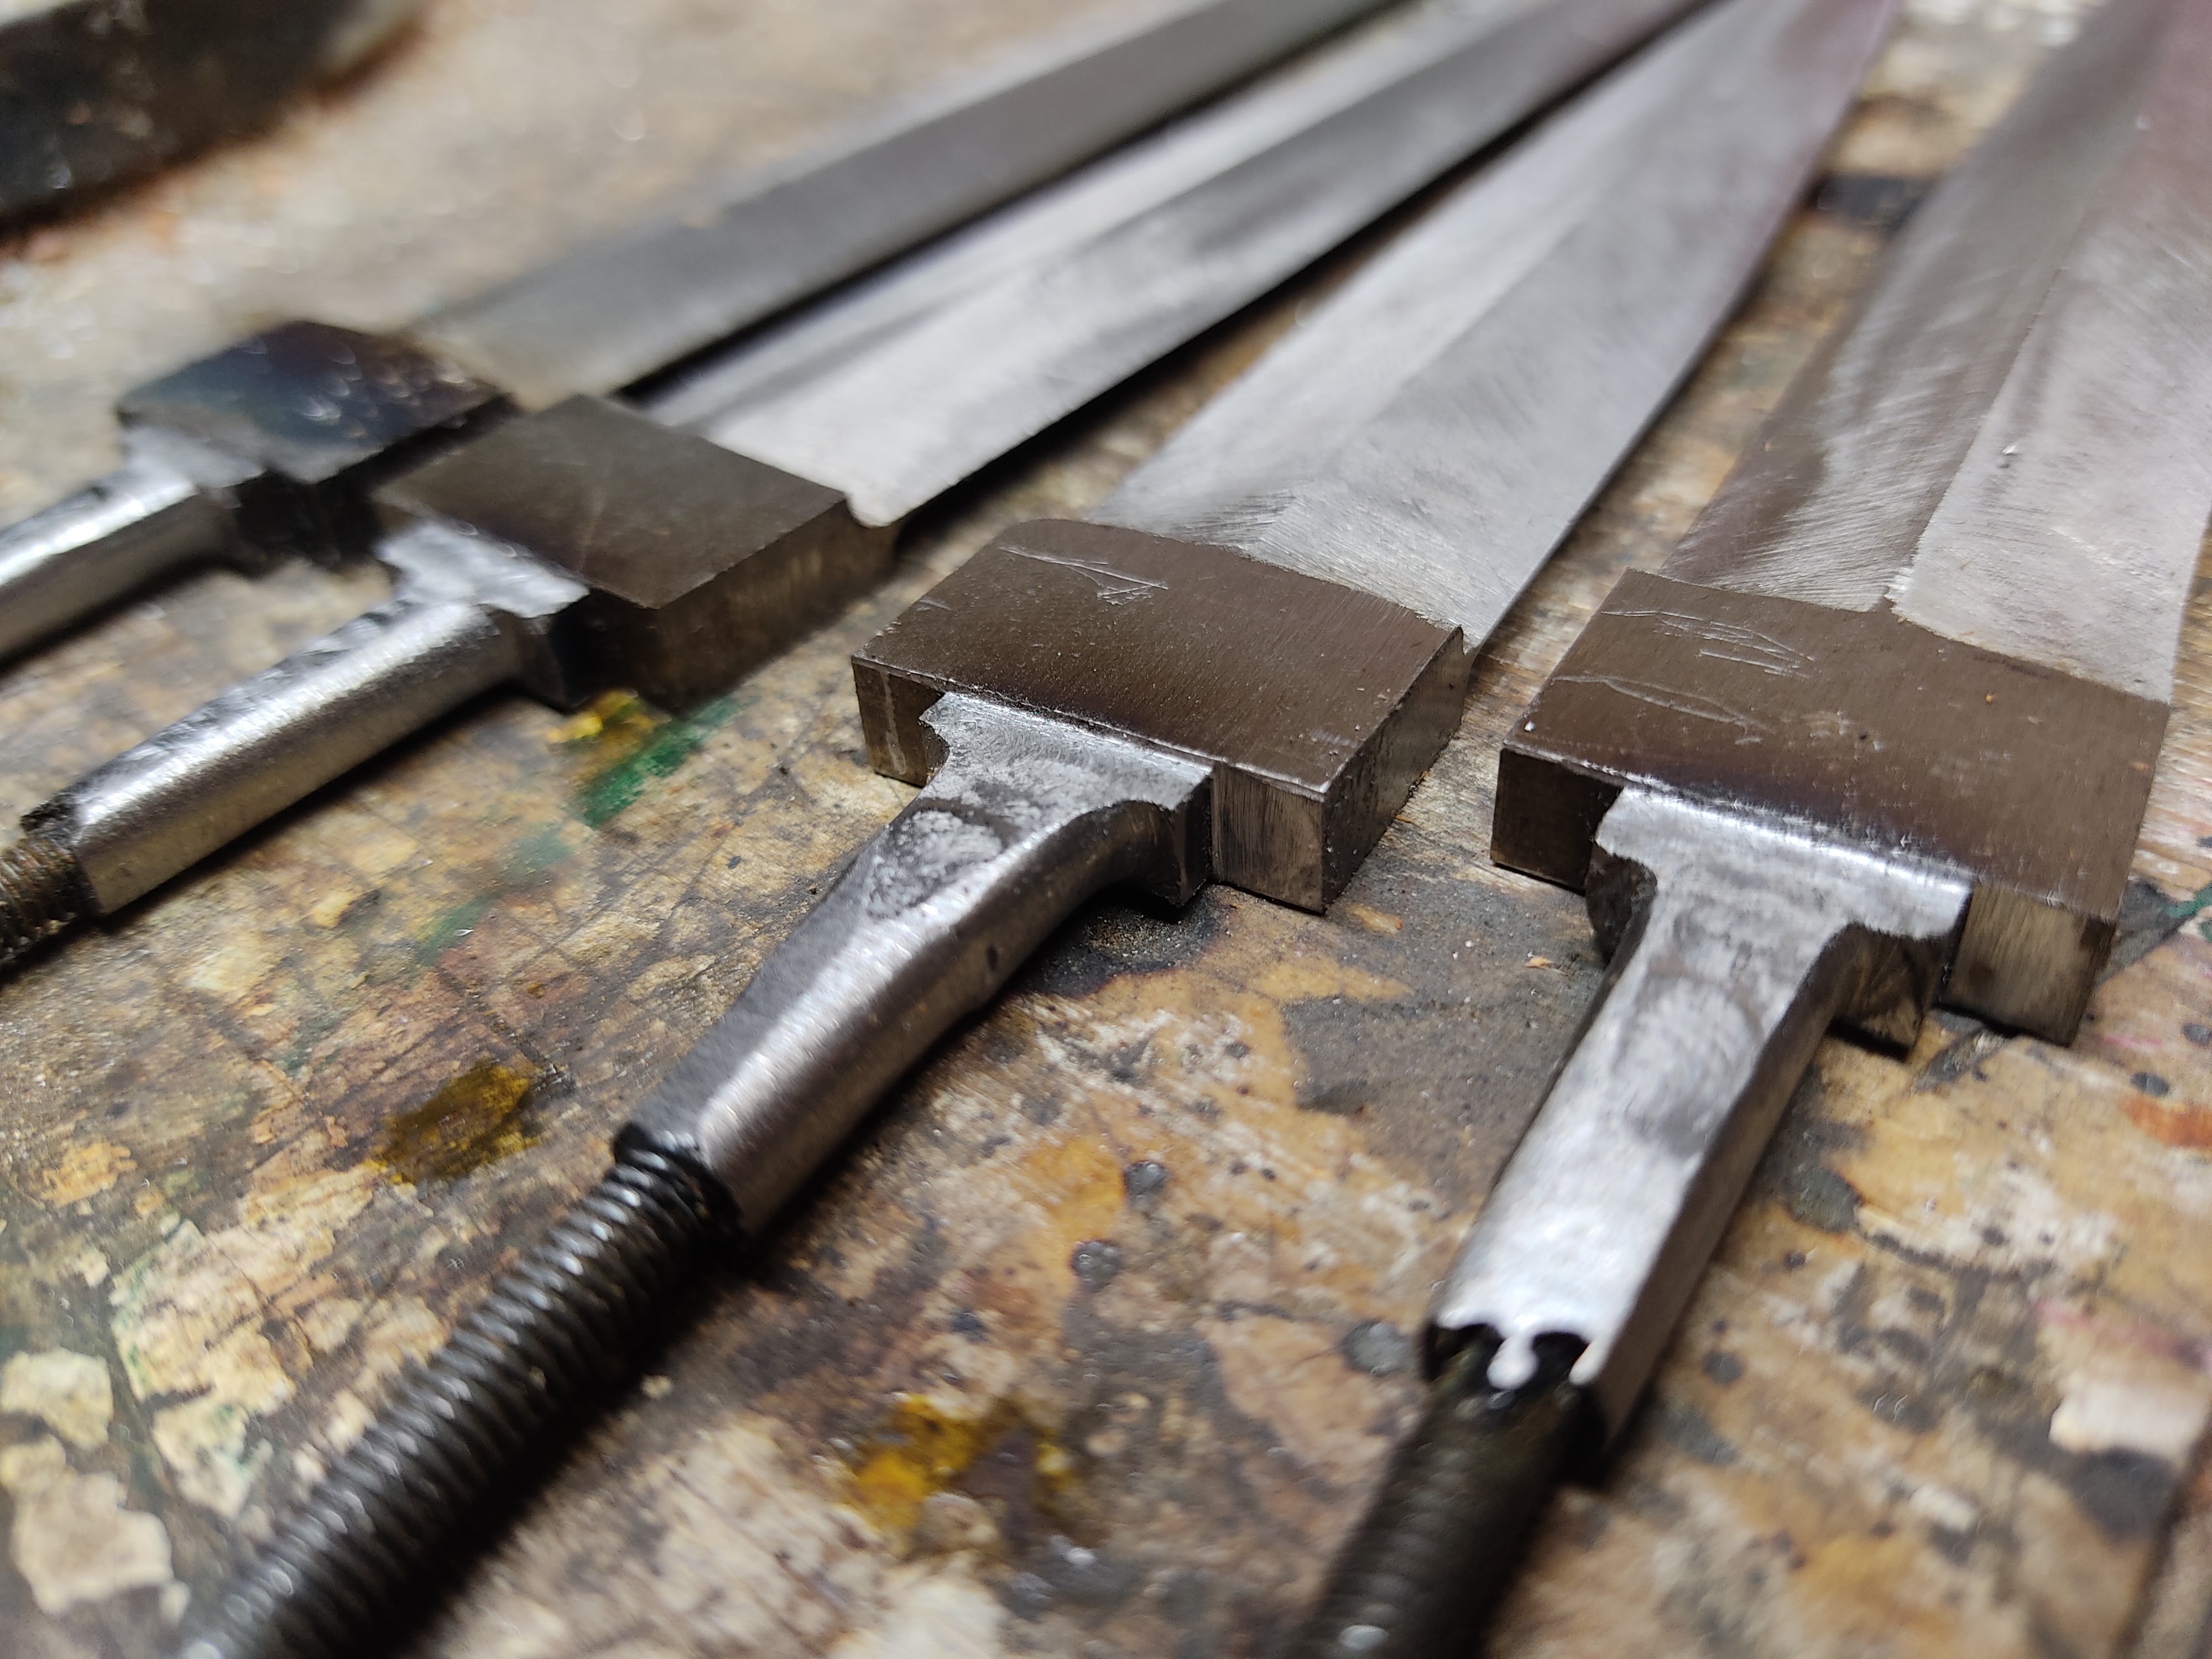
After this, I milled the faces of the tangs. The idea of this is that if I don’t get the slot perfect on the cross guard, it will be hidden beneath the shoulder on the tang. After this, I heat treated, finish ground and blued the blades.
I wanted to make wooden handles so I turned the blanks up on my lathe and started checkering. I made a couple of practice pieces first and even then screwed up my first handle. The problem with checkering a shape like these handles is the difference in diameter in the middle of the knife versus the sides. You can either maintain consistent spacing on your checkering or your straight lines turn to curves that don’t match where they meet. I made a sketch below to explain. The initial line is straight buy they get more curved each time. You can mitigate this with your technique but I’ve not been able to eliminate it entirely. This means that by the time you wrap all the way around the knife, it’s highly unlikely that you will be able to match the lines up.

My solution is to groove a vertical line and use this as a divider so it doesn’t matter if the checkering matches up or not.

Photo of the other side
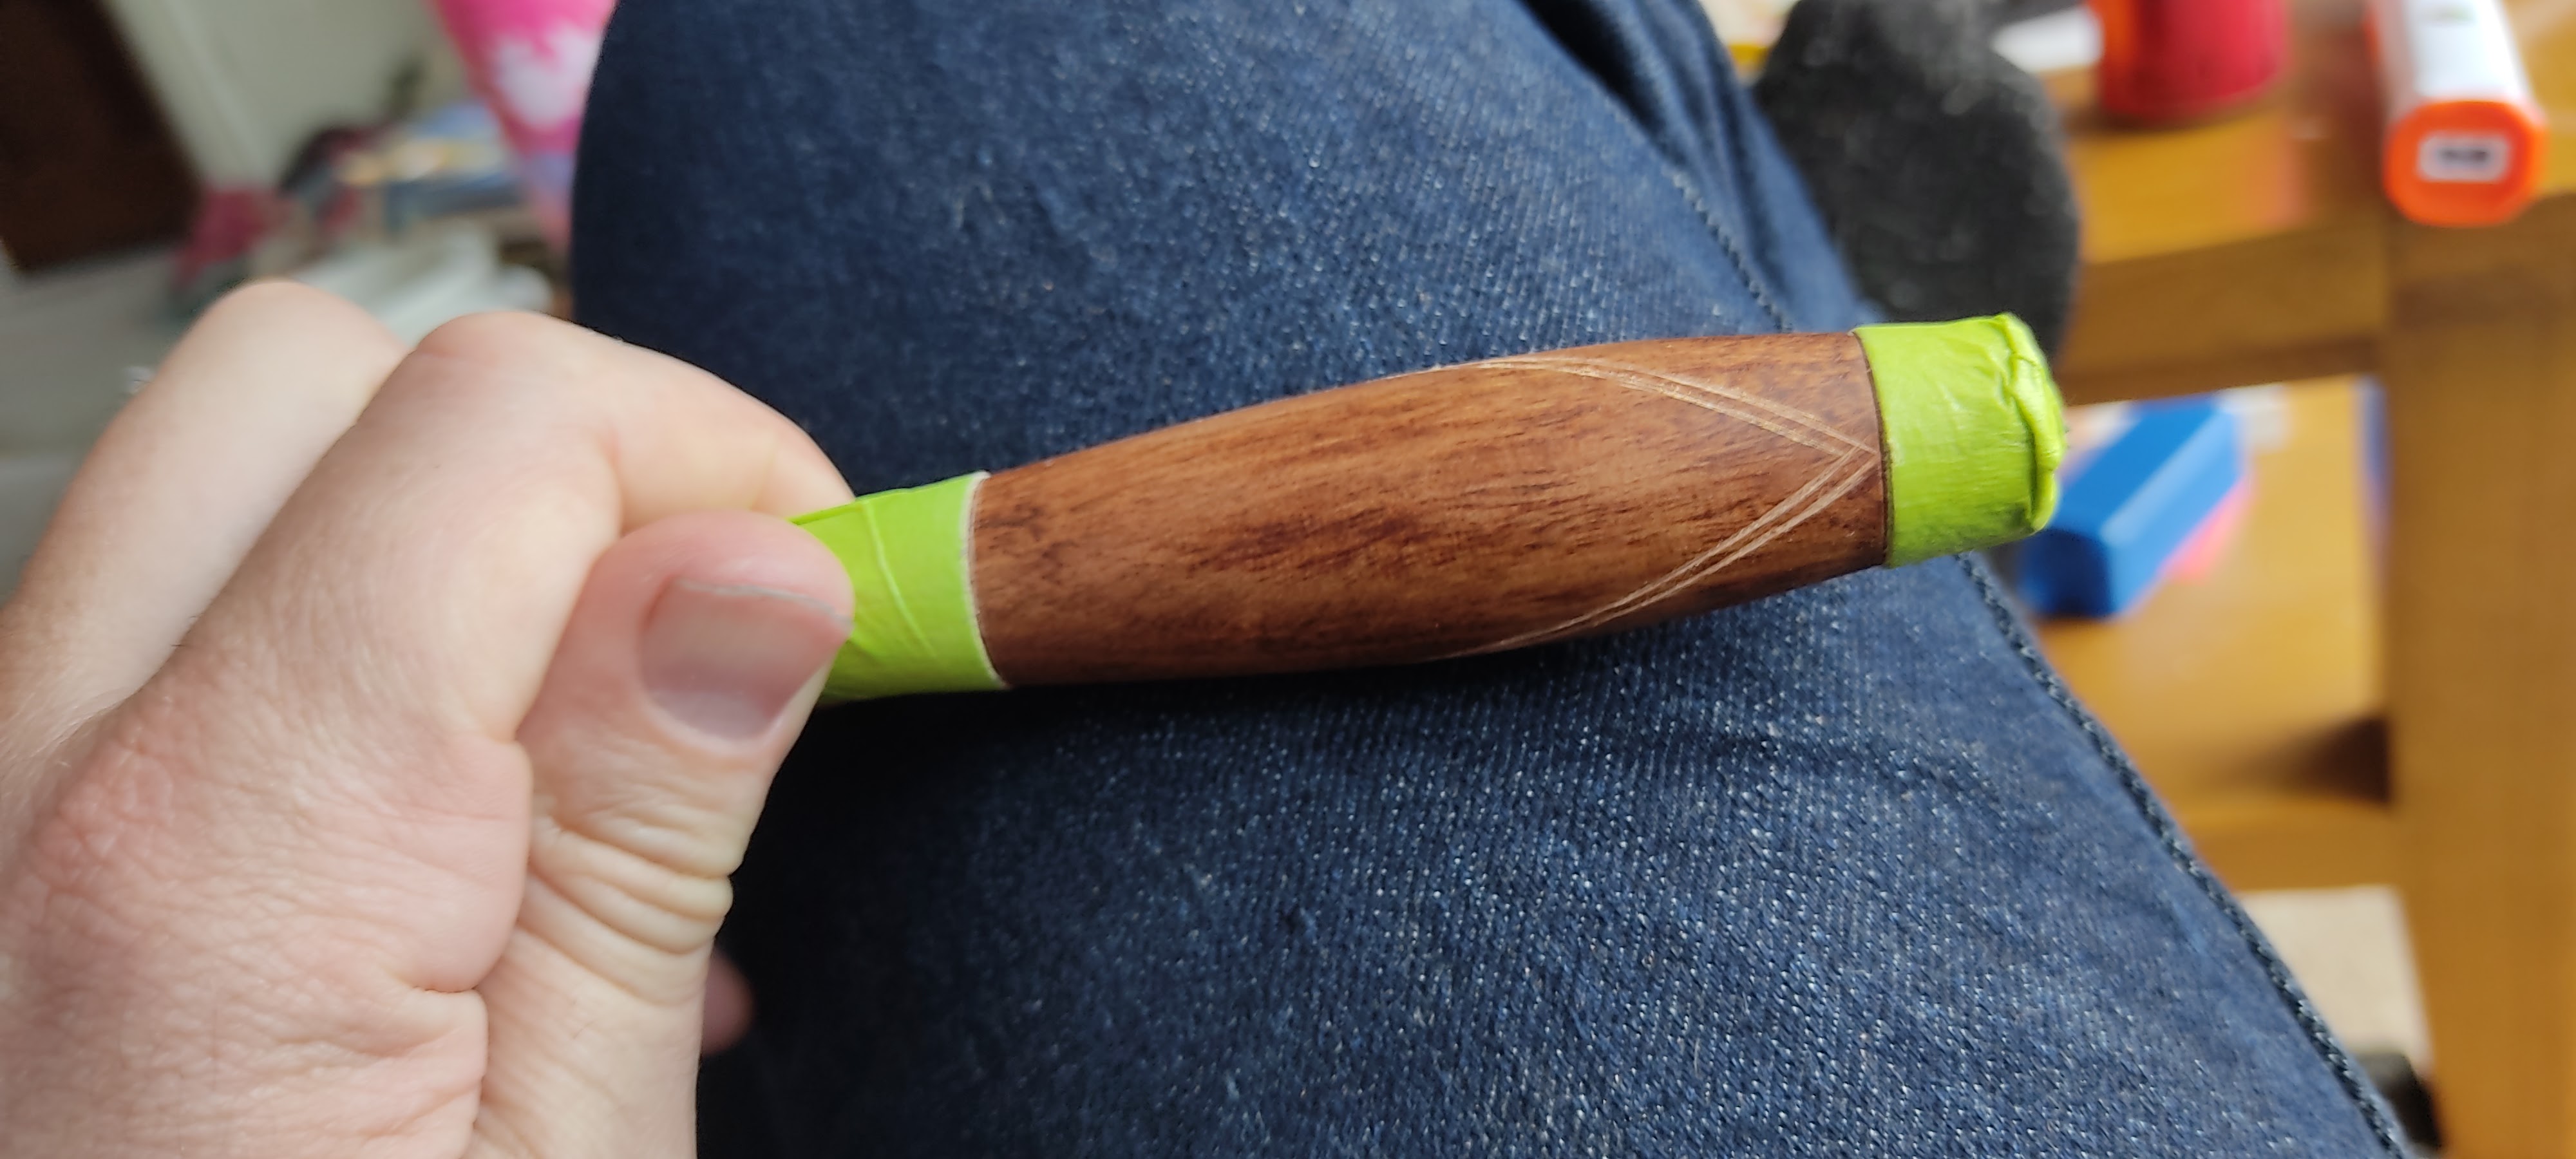
Now when checkering, you can reduce the amount of curve that is introduced by breaking a few rules. Instead of making a grid of light, pilot grooves and then deepening them, make a nice deep groove before using it as a reference for the next groove. If you have some depth to the groove, you can play around a little bit with the spacing between them by pushing the checkering tool to one side as you go. This is not normally good practice.
The pommels were turned up on a lathe. Not much more to say about that. The cross guards I slotted on my mill and filed the holes square. I then bolted 4 together through the slots and shaped them by eye.


